Take your online church videos to a whole new level for under £100.
With everything that is going on in the world right now, the way we do church has completely changed hasn’t it? No going up early to set out the chairs. No staying behind after to wash up the mugs. NO MEETING TOGETHER. Perhaps your church has started posting videos online and perhaps they haven’t. Either way I wanted to share with you some tips that can help make your videos look and sound great without spending a tonne of money on equipment and without needing a qualification in film making.
HERE ARE MY RECCOMEDNATIONS TO TAKE YOUR CHURCH VIDEOS TO A WHOLE NEW LEVEL FOR UNDER £100.
Audio.
The first thing that you 100% need to understand, is that the way the video sounds is of much more importance than how it looks. AUDIO TRUMPS VIDEO EVERY TIME. The people who will be watching your church at home videos, even if they don’t know it, will always be more irritated by poor audio.
The solution is simple. GET YOURSELF A USB MICROPHONE. Now while I don’t always use a USB mic for my own videos, I have in the past and sometimes I will just get mine out because its quicker and easier than setting up all of my audio recording equipment.
You might be sat there thinking you don’t have clue where to start with that. Which mic do you buy? How do you even record audio using a microphone? Well let me help with that. I would recommend the FIFINE USB MICROPHONE. These are available to buy new on eBay for around £30. Currently they are nearly twice that on Amazon so perhaps avoid purchasing from there.
If you wanted to spend a little more and get an even better mic then I’d recommend the BLUE YETI USB MICROPHONE. It is available on eBay new for around £60 with Amazon listing it again at nearly twice the amount. Both mics come with a desk mount, so you don’t need to worry about buying a stand additionally.
If you decide to go down the route of buying a USB mic then you’ll want to download some audio recording software called Audacity. This is free software that has been around for years. It hasn’t really changed much since its inception which makes it look dated and appear quite complex. DON’T WORRY BECAUSE IT IS SUPER EASY TO USE.
There are many tutorial videos online about how to use it which you may want to look at, but it really is straightforward.
Because you are going to be recording your audio separate from you video there is something you will have to do. YOU’LL NEED TO CLAP ONCE, NICE AND LOUD, AT THE START OF YOUR RECORDING. This might sound silly, but have you ever seen those clapper boards they use on film sets? It’s basically the same idea but you just clap your hands. This is for when you stitch your audio and video together.
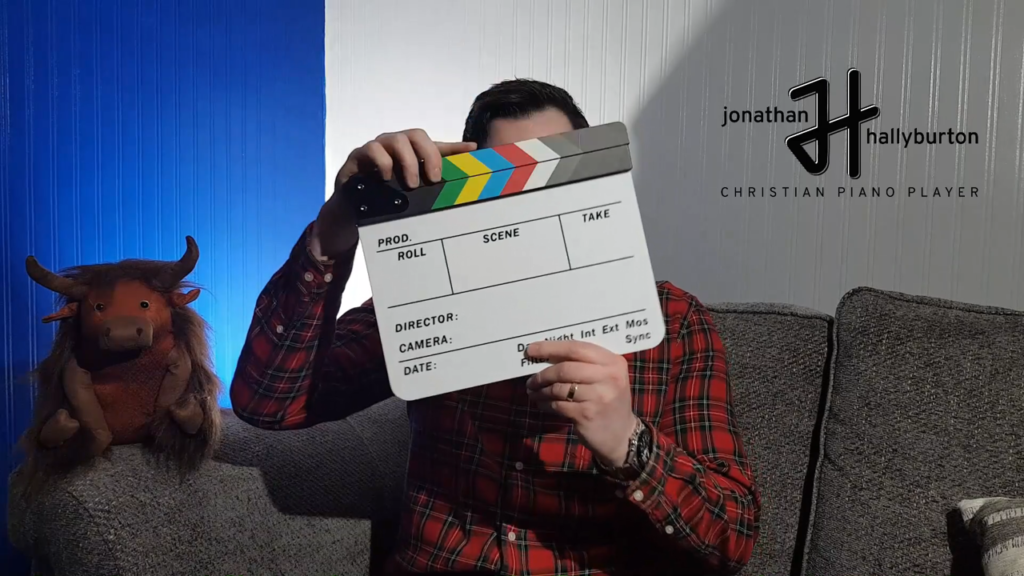
It also means you don’t have to click record on both things at the exact same second. Your clap creates a large, short peak in the sound waves that you can see clearly on your screen. We’ll come back to why that is important shortly.
Once you’ve recorded your audio in Audacity, you’ll need to export it from that software as an audio file. A little bit like how you might store your audio clips if you are used to recording your sermons at church. That again is pretty straightforward.
Video.
Now we’ve looked at the audio, let’s turn to the video. A few things to avoid right off the bat are webcams and tablets. Webcams give you angles which, to put politely, are not preferable. Tablets simply don’t have cameras in which are meant to be used for this sort of thing.
If you are a household that still has a digital camera, then that may be worth using. But if it’s really old and you’re not sure how you’d even get your recording off the camera and on to your computer/laptop then perhaps don’t.
So, what is the best device to record your video on? You’ll definitely kick yourself when I tell you. IT’S YOUR SMARTPHONE. Nearly all of us have smartphones nowadays. Granted, some will be fancier than others, but it’s 99.9% likely that the rear camera on your smartphone (that is the one on the back, not the one you might use to take selfies) is actually the best camera in your entire house. Your phone will almost always have come with a USB cable, so getting your video onto your computer is easy too.
In terms of mounting your phone to record, you could always buy a tripod. I am definitely a big fan of this option and it can be surprisingly inexpensive too. Basic camera tripods are available all over the internet for as cheap as £10. The little retractable clip that you will need to clip your phone on the top is even cheaper costing as little as £2.
But the audio and video are seperate.
Once you’ve got your recording finished it is now time to stitch it all together. You guessed it. You’re going to need some software. The best advice I can give you is to pay for software. DON’T JUST USE SOME FREE SOFTWARE YOU’VE FOUND.
The great thing about the ones you pay for is that they are laid out much more clearly, they are much easier to use and yes, they can simply do more things. There are vast numbers of programs out there but personally I use a program called WONDERSHARE FILMORA. To buy this one costs just £55. In terms of an investment in evangelism and the work of your church I certainly think it is an affordable and worthwhile purchase.
To begin stitching it all together you will need to import your files into the ‘project’. Many of them will have a clear import button, but you could also just drag and drop them. The next step would be to drag the audio and the video files, into the timeline and on to their respective tracks. Once they are there you should be able to see quite clearly the waves on both the audio track and your video track. Remember your phone will have recorded sound too.
THIS BRINGS US BACK TO THE CLAP FROM EARLIER. Remember I said the clap creates a loud, short peak? Well you should be able to see that in the waves on both tracks. If you can’t, you may need to zoom in, but you’ll find it.
They won’t be in line just yet, but they need to be. You can drag one of the tracks whichever way you need to, so that the clap peaks are in line. Once they are in line you can detach the audio from your phone recording which is done on most programs by right clicking. Once that is separate you can just delete it because it is no longer needed.

When you’ve got them lined up it’s time to delete the unwanted bits. I’m talking about the bit at the start where you’re finding your seat after clicking record as well as the ending where you get up to stop recording etc. To do that, you just right click and split just before and just after the part you want to delete. This separates it off from the rest of the media and you can delete just that part.
After you’ve done all of your snipping and deleting just drag both tracks to the start of the timeline. YOU’LL WANT TO MAKE SURE YOU HAVE NO GAPS. You may have them from your deleting, but you may not. When you’re done just click export and there you have it.
Are you limited in what you can do?
There is much more you could do to really enhance your church at home videos. Things like having your church logo or even your sermon points on screen. Maybe you’d want to go one step further and incorporate some music videos for your praise and worship. PERHAPS YOU’D WANT PEOPLE FROM YOUR FELLOWSHIP PRAYING OR READING THE BIBLE PASSAGE. All these things are possible, and all can be done using the software I have recommended but remember there are others out there too.
Is that really all under £100?
So, all that really shouldn’t set you back any more than £100. Your video software is for sure going to be the greatest cost at £55. The USB mic comes in around £30, the tripod just £10 and your phone mounting clip just £2. By my count that certainly is less than £100. IS IT WORTH IT? ABSOLUTLEY. I’m sure you’d agree that at a time when we can’t put on events and reach our communities in the usual ways, then this really isn’t a lot of money.
Here’s the links to what you’d need:
A few extra tips.
Something people can get really fixated on is the background of their video. The background is less crucial than you might think when it comes to church at home. Just make sure the background is clear and tidy. NOBODY WANTS TO SEE YOUR WASHING HANGING UP TO DRY.
If you are recording using natural light, then try not to stand directly in front of the window. Try and stand with the window to your side and at least 3 feet from the window itself. Similarly, if when you are standing side on to the window, and you find yourself with your back to a wall, try and stand a least 3 feet in front of it. THIS SHOULD STOP SHADOWS.
Maybe you want to experiment using different lighting’s and if that is you, then there are a few basic things you need to know. You don’t need to spend hundreds on fancy filming lights. Cheap work lights of varying brightness’s are available from lots of retailers. Try starting with two. One around 2000 lumens for the foreground, and the other around 750 for the background. If you find you need a third to rid your shot of certain shadows, then you’d look for one somewhere in the middle of the ones you already have. WHEN IT COMES TO LIGHTING IT IS VERY SUBJECTIVE SO JUST PLAY AROUND WITH IT.
Hope this helps.